

Because first impressions happen through a lens, not a handshake.
1. Why Self-Tapes Dominate Modern Casting
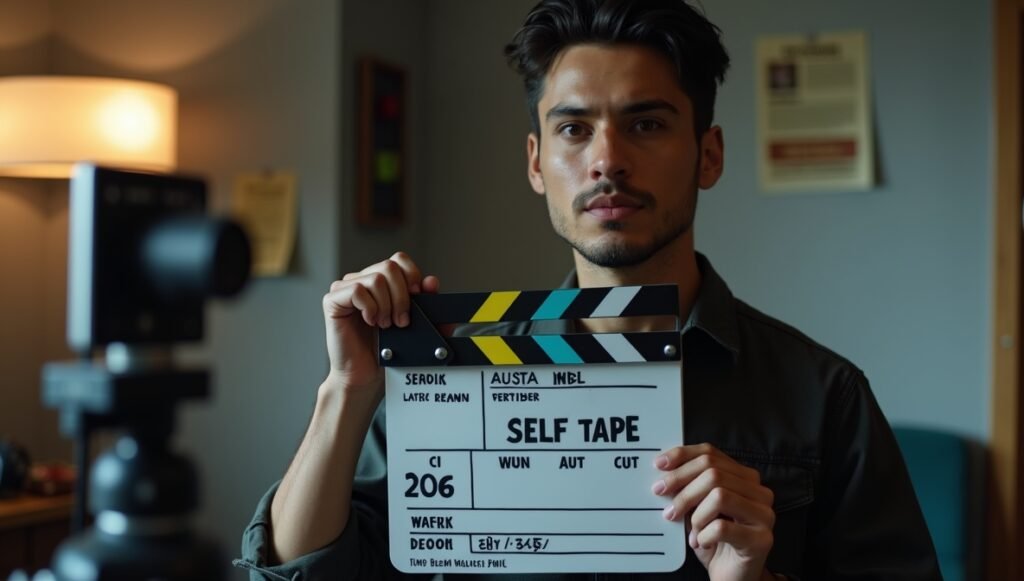
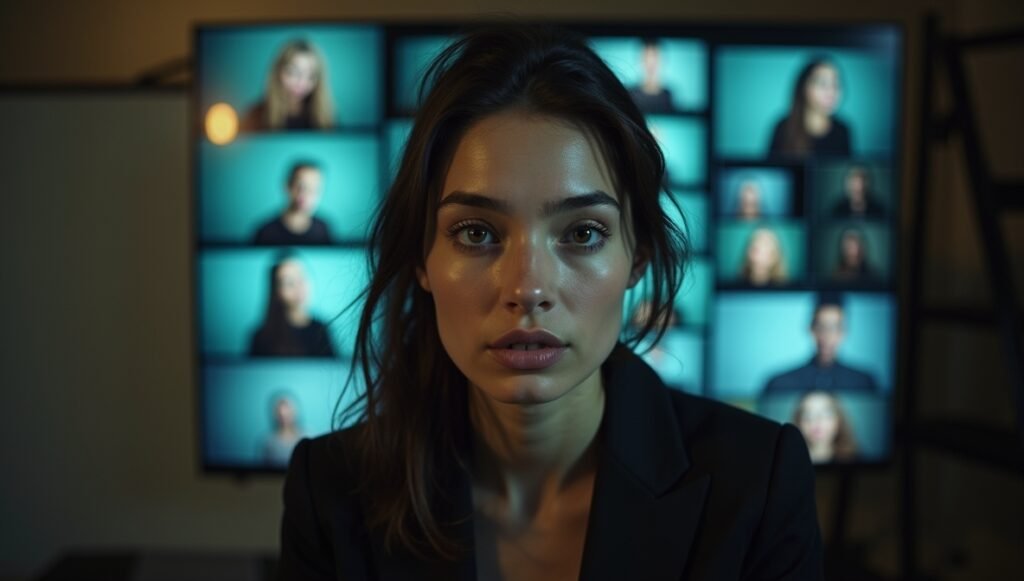
Self-taped auditions are no longer a novelty—they’re the gatekeeper to callbacks and bookings in film, television, commercials, and even theater workshops. They allow casting teams to review performances on their own timetable and widen the talent pool beyond local “drive-in” distance.
Yet every convenience has a trade-off. When you self-tape, the job of camera operator, lighting designer, sound mixer, and editor falls squarely on you. A polished file tells casting you’re professional and easy to work with; a careless one says you’ll need on-set babysitting. Mastering a repeatable technical checklist turns the lens into an ally instead of an obstacle.
Key takeaways
- Treat each self-tape as a micro-production, not a quick homework assignment.
- Build a kit that assembles in under ten minutes and fits in one tote.
- Follow submission specs religiously—mislabeling a file can bury a brilliant performance.
- Keep records of setups that earn positive feedback.
- Back up raw clips so you can re-edit if casting later asks for a change.
2. Pre-Production Planning & Time Management

Good tapes start before the light switch flips on. Read every breakdown line: aspect ratio, slate phrasing, file size limits, platform (EcoCast, WeTransfer, Dropbox, Cast It, etc.). Missing even one technical note is as risky as forgetting a line.
Next, block out quiet hours. If natural light is your primary source, schedule during “golden” morning or late-afternoon windows when sun is soft and indirect. If you’re working with artificial lights, rehearse on the same schedule you intend to shoot so you can anticipate ambient noises—barking dogs, traffic rushes, or household routines.
Pre-production checklist
- Confirm deadline and casting office time zone.
- Highlight framing requirements (head-and-shoulders, ¾, full-body).
- Double-check preferred naming convention before recording.
- Charge batteries, clear memory cards, and test spare light bulbs.
- Post “Quiet on Set” notes for roommates, family, or housemates.
3. Lighting Fundamentals: Quality Over Quantity
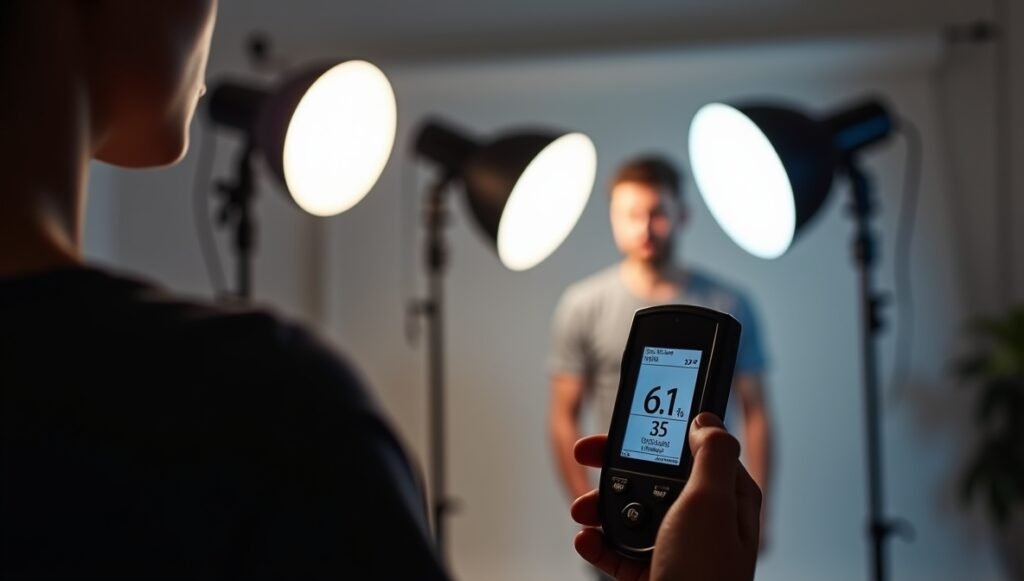
Well-designed light flatters skin tone, reveals eye sparkle, and eliminates grain that screams “amateur.” Three-point setups (key, fill, back) are classic, but two large, diffused LEDs can deliver cinematic softness in tight quarters. Place the key 45° off-axis and slightly above eye level; position the fill opposite at half intensity to lift shadows without flattening features.
Color temperature consistency matters. Mixing daylight (≈5,500 K) and tungsten (≈3,200 K) leaves skin looking sickly. Keep all bulbs in one temperature family or tape over windows. Diffusers—soft boxes, umbrellas, or even shower-curtain material—spread light kindly over facial contours.
Lighting bullets
- Aim key light just above eye level to prevent under-eye shadows.
- Use foam core or reflector board for a cost-free fill source.
- Add a hair light to separate you from a darker backdrop.
- Test exposure on the camera monitor, not your naked eye—sensors see differently.
- Label dimmer settings so you can replicate winning looks.
4. Advanced Lighting & Color Theory

Perfect exposures still fall short if the color palette undermines character. Warm gels (1/8 CTO) can soften a villain’s harshness; crisp daylight balance may enhance heroic sincerity. Understanding color rendering index (CRI) helps: LEDs with CRI 95+ reproduce skin hues faithfully and reduce post-production corrections.
Soft shadows are forgiving, but they can sometimes flatten dramatic tension. If a scene calls for danger or mystery, sculpt one side of the face with a narrower beam. Conversely, comedic copy often benefits from bright, even front light that reveals micro-expressions.
Color theory bullets
- Invest in LEDs with high CRI for true-to-life skin tones.
- Experiment with subtle gels to evoke mood without over-styling.
- Avoid green-spike cheap bulbs—they cause unpleasant post-correction artifacts.
- Keep white balance locked once you set lighting to stop weird pulsing.
- Document every successful lighting scheme with a quick photo and settings note.
5. Capturing Clean, Professional Audio
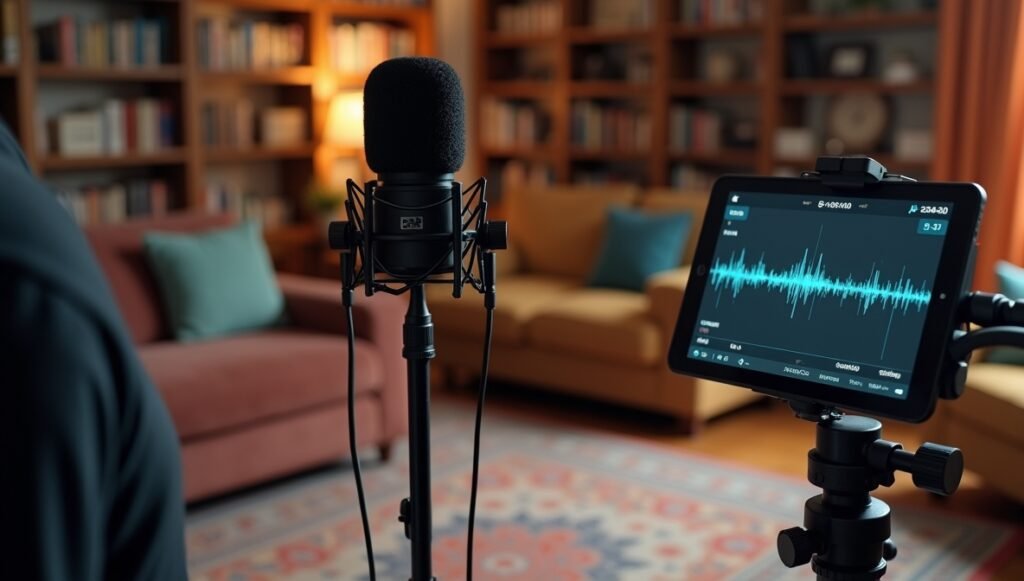
Bad audio torpedoes good acting faster than dim lighting. Phone mics amplify echo and refrigerator hum. A lavalier clipped at sternum level or a shotgun mic positioned on a boom just above frame instantly lifts clarity and eliminates ambient clutter.
Monitor with closed-back headphones. Levels should peak around –6 dB; constant red peaks mean clipping, while signals below –20 dB invite hiss when boosted. Capture 30 seconds of room tone to help editors mask cuts between takes.
Audio bullets
- Use cardioid or shotgun patterns to reject off-axis noise.
- Secure lav cables with medical tape to cut clothing rustle.
- Power down HVAC ten minutes before rolling.
- Lay down rugs or hang blankets to dampen reflective floors and walls.
- Keep mic distance constant between takes for level consistency.
6. Audio Post-Processing Basics
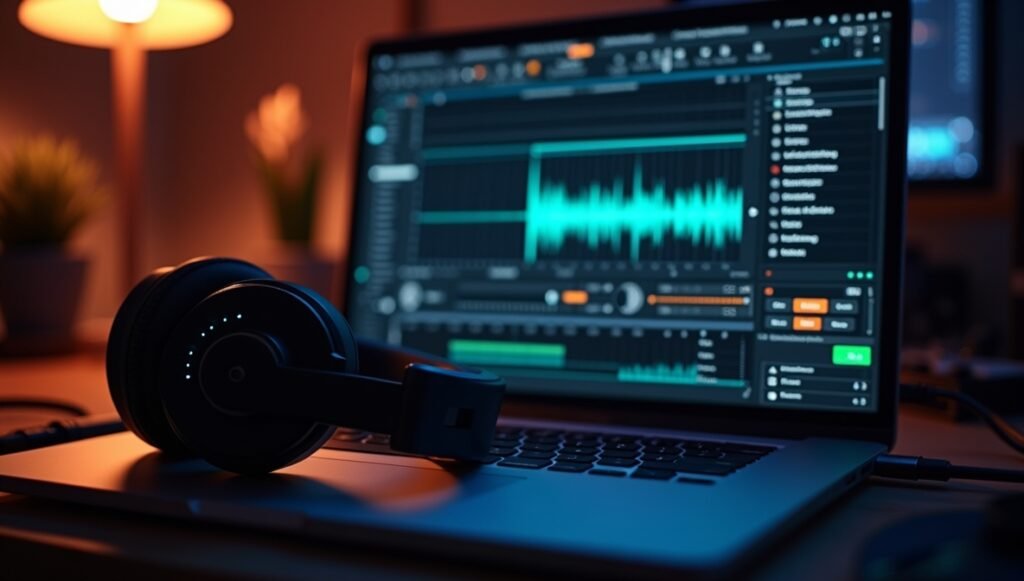
Even clean recordings benefit from gentle polish. A high-pass filter (80–100 Hz) removes traffic rumbles without thinning your voice. Light compression tames volume spikes, ensuring dialogue sits comfortably in the mix. Avoid aggressive noise-reduction plugins that introduce robotic artifacts—subtle is safer.
Export your final mix at 48 kHz/16-bit WAV or embedded in the video at similar specs. Many casting directors listen on laptops or phones; optimizing for small speakers helps maintain intelligibility.
Post-processing bullets
- Use EQ cuts rather than boosts; boosts can accentuate hiss.
- Normalize peaks to –3 dB for headroom, not 0 dB.
- Save an unprocessed backup before experimenting.
- Cross-check on earbuds, studio monitors, and smartphone speakers.
- Limit audio processing to one round—multiple exports degrade fidelity.
7. Framing & Composition Fundamentals
Framing guides viewer attention. Standard audition framing is medium close-up (mid-chest to just above head) unless instructions differ. Eyes should land one-third down from the top edge—the rule of thirds feels balanced and cinematic.
Lens height equals eye height. Shooting down shrinks presence; shooting up enlarges nostrils and ego. Tripods beat book stacks because they remain stable during emotional surges. Slight headroom and centered horizontal placement read as neutral, letting performance—not composition—carry story weight.
Framing bullets
- Lock tripod; micro-wobbles betray nerves.
- Use 35 mm–50 mm equivalent focal length to avoid facial distortion.
- Avoid extreme wide angles that expose living-room clutter.
- Mark floor spot for consistent distance across takes.
- Verify hands and hair stay inside frame for slate segments.
8. Set Design & Space Management

Backgrounds should be invisible yet intentional. Plain light gray or pale blue walls minimize shadows and avoid stark unnatural white. Fabric pop-up backdrops fold away neatly and prevent wrinkles. If you must shoot in a real room, open the lens wide (low f-stop) to blur décor.
Keep a meter between you and the background to reduce spill and give hair room to breathe. Clear off distractors—picture frames, houseplants, light switches. A tidy space reassures casting you’ll be equally organized on set.
Set bullets
- Hang cloth backdrops taut; wrinkles create unwanted texture.
- Neutral tones complement most wardrobe colors.
- Use painter’s tape to mark backdrop floor footprint for easy resets.
- Keep props outside the frame unless script requires them.
- Test background under both natural and artificial light to spot color shifts.
9. Wardrobe & Makeup Choices for Camera

Casting notices often state “look professional, not costumed”. Choose clothing that suggests character without turning into Halloween. Solid colors work best; tight stripes create moiré, and neon hues blow out under LEDs. Avoid logos—they’re trademark headaches.
Makeup balances shine and tone rather than re-imagines your face. Mattifying powder prevents forehead glare. If you normally wear heavy foundation, consider dialing back—high-resolution cameras reveal product layers. Men benefit from a light translucent powder, too.
Wardrobe bullets
- Contrast shirt color with backdrop for separation.
- Skip pure white unless lighting is perfectly soft.
- Iron or steam garments; wrinkles look inattentive.
- Keep jewelry minimal—bracelet clinks sabotage audio.
- Pack lint roller for pet-hair emergencies.
10. Working With a Reader (Remote or In-Person)
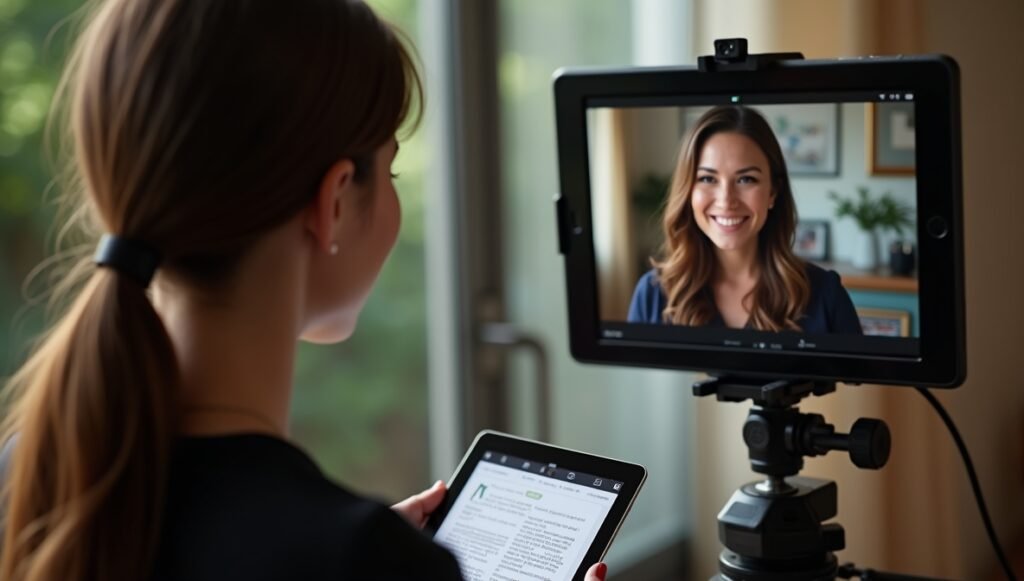
Chemistry lifts a scene. A live reader—friend, partner, coach—provides timing and genuine energy. Position them just off-camera at your eyeline height. Their job is to be supportive furniture: steady, natural, never stealing focus.
If no one’s available, remote readers on Zoom or FaceTime are fine. Place the laptop or tablet as close to the lens as possible so your eyeline remains believable. Record their voice separately through your mic; laptop speakers sound tinny on camera.
Reader bullets
- Brief your reader on pace, tone, and modulation.
- Keep their volume lower than yours to avoid sonic competition.
- Have them look at you, not their script, for connection.
- Mute notification sounds on their devices.
- Thank them—good readers become career allies.
11. Rehearsal Techniques Tailored for Camera
Stage instincts—projection, wide gestures—need recalibration inside a frame. Practice “micro-expressions”: a subtle brow raise, a fractional inhale, the momentary flick of an eye. Record rehearsals and watch muted to study facial storytelling divorced from voice.
Line memorization is half the work; camera mapping is the rest. Know exactly where you’ll shift weight, glance, or gesture. Mark beats with floor tape. Controlled physicality prevents stepping out of focus.
Rehearsal bullets
- Use sticky notes behind the camera as eyeline markers for multi-character scenes.
- Anchor gestures inside frame boundaries.
- Film warm-ups to catch distracting habits early.
- Explore three emotional colors for each beat, then pick the most truthful.
- Incorporate breath cues to maintain pace instead of rushing dialogue.
12. Building a Portable Self-Tape Kit
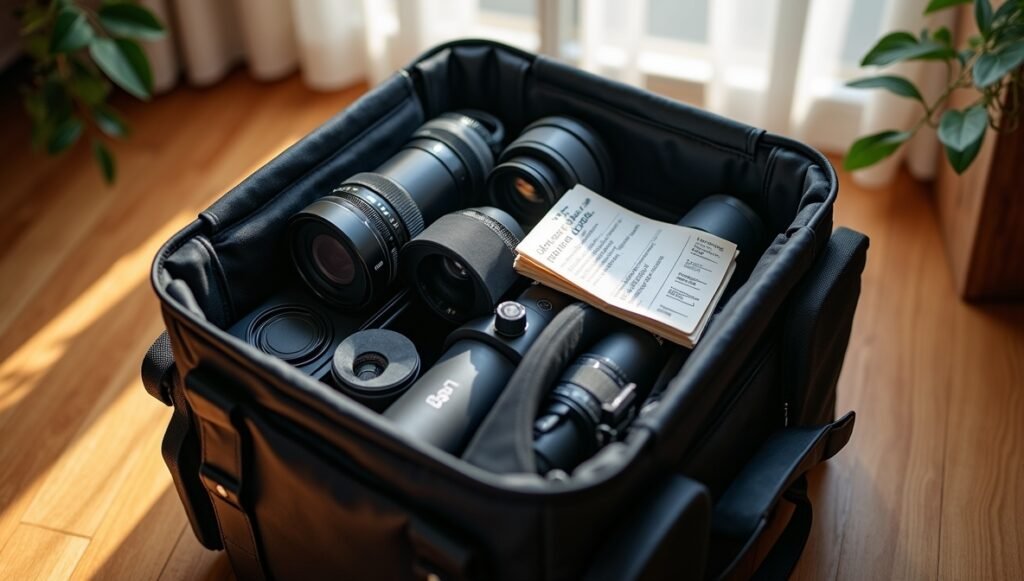
Auditions often arrive with less than 24 hours’ notice. A “go-bag” keeps panic at bay. Essentials: two dimmable LED panels, collapsible stands, blue or gray pop-up backdrop, lightweight tripod with smartphone clamp, lav mic, extension cords, gaffer tape, extra SD card, matte powder, screwdriver, screen wipes.
Pack cables coiled and labeled; tangled wires soak precious minutes. Keep a multi-outlet power strip in the bag—older studio apartments hide sockets behind furniture.
Kit bullets
- Store lights in padded cases to avoid broken diodes.
- Use a checklist on the bag exterior to verify every item before leaving.
- Keep fresh AA/AAA batteries for lav transmitters.
- Include a three-inch C-clamp for improvising mounting points.
- Add a printed backdrop crease remover (mini steamer).
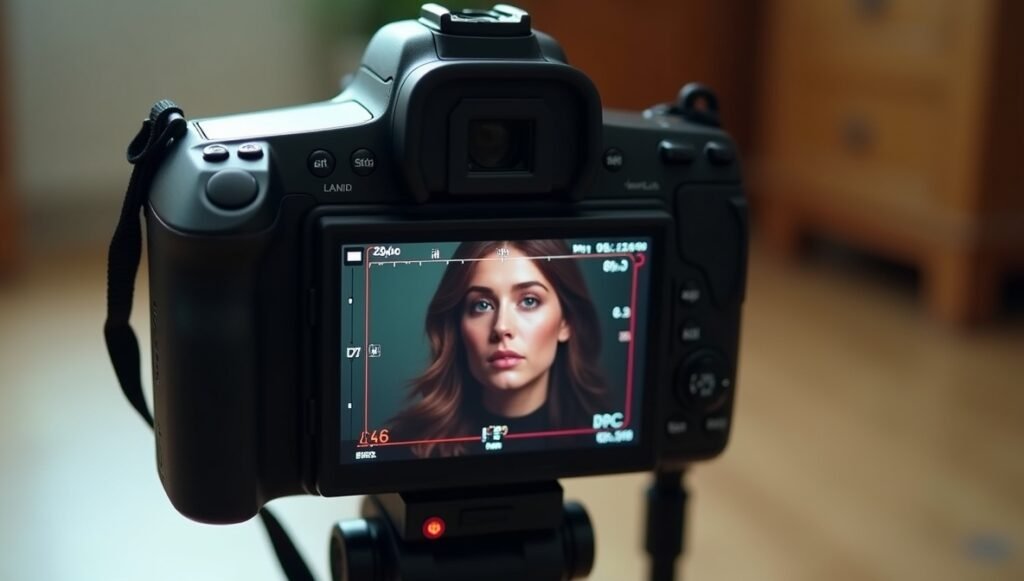
13. Camera Settings & File Management
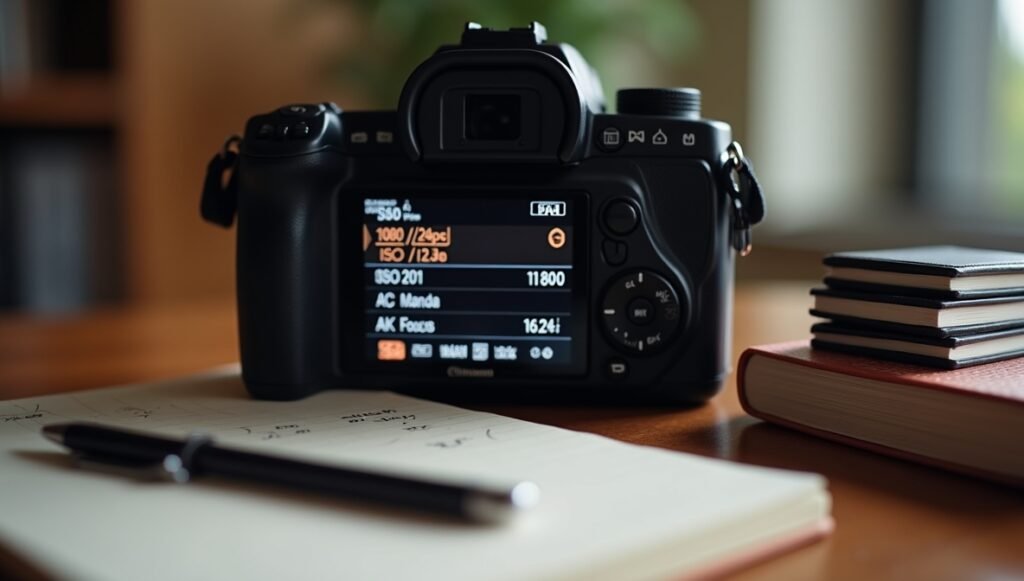
Modern phones shoot 4K, but mirrorless cameras with APS-C or full-frame sensors handle low light gracefully and produce richer colors. Whichever you use, switch off autofocus once you set marks—it may hunt unpredictably mid-scene.
Record at 1080p/24 fps unless specs dictate otherwise. This resolution balances sharpness and manageable file sizes. Opt for a flat or neutral picture profile; it protects highlights and shadows for minor color tweaks later.
Camera bullets
- Maintain shutter speed near double frame rate (≈1/50 sec for 24 fps).
- Set ISO as low as lighting permits to avoid grain.
- Verify storage cards are rated V30 or higher.
- Rename files immediately after each take to prevent mix-ups.
- Back up to two drives: one local, one cloud.
14. Editing Principles: Less Is More
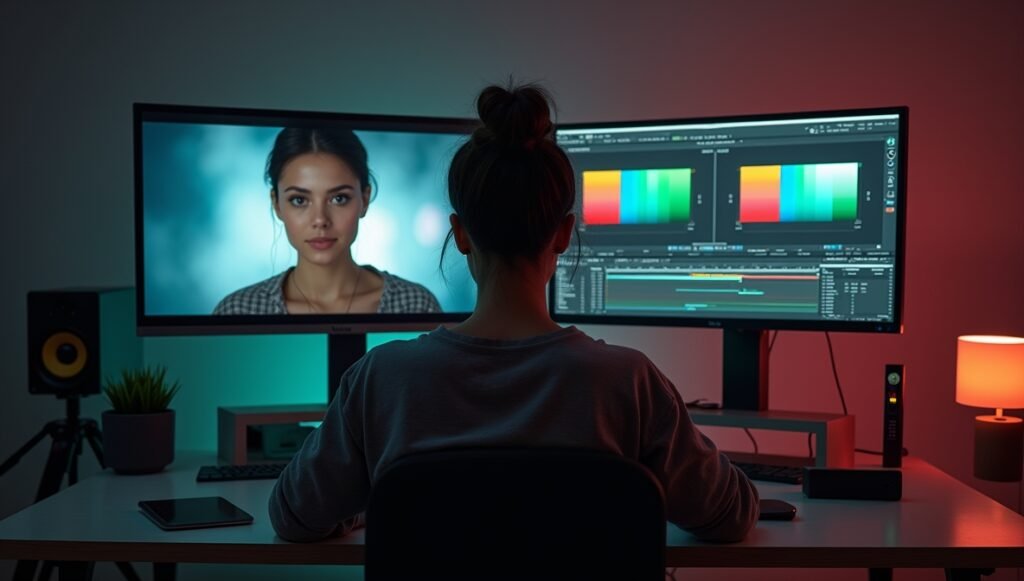
Trim dead air; leave only half a second before first line and after last. Avoid star-wipe transitions or dramatic music—simple cuts show confidence. Mild exposure or contrast tweaks suffice. Heavy grading risks mismatching casting-office monitors.
For multi-scene submissions, slate first, then group all takes of Scene 1, followed by all takes of Scene 2. A concise table of contents in the email body helps busy casting assistants navigate quickly.
Editing bullets
- Color-correct under neutral lighting—avoid tinted rooms.
- Balance dialogue levels across scenes to prevent volume jumps.
- Export H.264, 10–15 Mbps bitrate for 1080p.
- Watch final file on phone and desktop to catch aspect ratio issues.
- Upload a day early to cushion against platform outages.
15. File Compression & Delivery Platforms
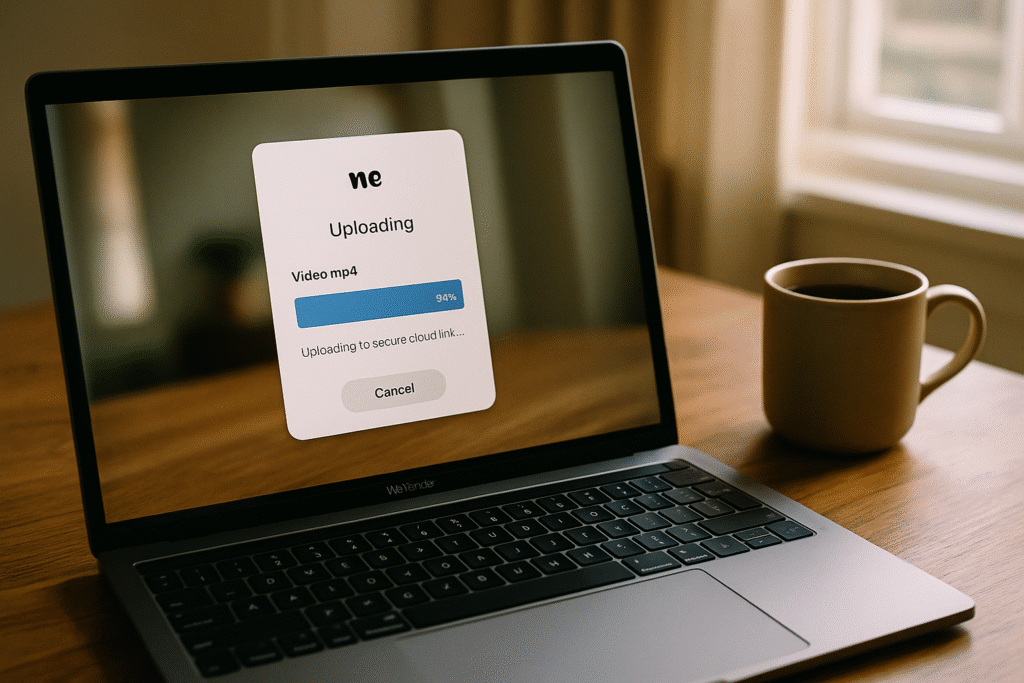
Platforms throttle massive files; compress with HandBrake or Adobe Media Encoder using “constant quality” targets rather than fixed bitrates to preserve detail. Keep final files under 500 MB unless otherwise noted.
EcoCast, WeTransfer, and Dropbox are industry staples. Google Drive occasionally flags large video downloads for virus scanning delays—avoid if time-sensitive. Always set link permissions to “Anyone with link can view” to bypass login friction.
Delivery bullets
- Test download speed with a second account before sending link.
- Label links clearly: “Self-Tape_YourName_Role_Project”.
- Keep links live a minimum of seven days.
- Email a polite confirmation: role, project, runtime, and any passcode.
- Double-check that auto-generated thumbnail looks flattering.
16. Backups, Archiving & Ongoing Improvement

A master drive labeled “Auditions” with subfolders by year and project keeps history organized. Tag winning tapes with feedback notes: “Booked,” “Pinned,” “Callback.” Review them quarterly to identify lighting or framing patterns that elicit positive responses.
Store raw camera files as well as finals; casting sometimes requests re-editing a different take or adding subtitles. Cloud storage with versioning protects against accidental deletions.
Archiving bullets
- Two-drive rule: primary SSD, mirrored HDD or cloud.
- Use consistent folder hierarchy: Year > Project > Role > Takes.
- Keep a change log for equipment tweaks and their outcomes.
- Revisit footage after six months; fresh eyes catch habits to refine.
- Periodically test drives and replace aging hardware proactively.
17. Common Mistakes & Fast Fixes

- Mistake: Flickering LED lights from mismatched shutter speed.
- Fix: Adjust shutter until flicker stops, usually 1/60 sec in North America (60 Hz mains).
- Mistake: Echo chamber audio in empty rooms.
- Fix: Hang blankets, insert couch cushions, lay rugs to break reflections.
- Mistake: Glare on eyeglasses.
- Fix: Raise key light and angle glasses slightly downward to bounce reflections away from lens.
Troubleshooting bullets
- If autofocus hunts, switch to manual and mark focus distance.
- Sudden color shifts? Disable auto white balance.
- File too large? Re-encode using variable bitrate.
- Clothes blending into backdrop? Change shirt or add hair light.
- Noise outside? Record later or move mic closer and lower gain.
18. Rapid-Fire Day-of-Shoot Checklist

Print this, laminate it, and tape it near your gear:
- Batteries charged—camera, lights, audio.
- Memory card formatted, ample space.
- Backdrop up, wrinkles steamed.
- Key/fill lights positioned, intensity set.
- White balance locked.
- Mic connected, test recording plays back crisp.
- Framing: eyes one-third down, headroom minimal.
- Wardrobe lint-rolled, jewelry muted.
- Reader briefed and positioned.
- Slate phrasing rehearsed.
- Take 30 sec room tone.
- Record two strong takes plus safety.
- Review for focus, audio peaks, and makeup shine.
- Rename files, export master, compress, upload.
- Send confirmation email with link and gratitude.
Conclusion: Technical Mastery Frees Creative Truth
The camera doesn’t care whether you’re taping from a spare bedroom or a top-tier studio—only that you control light, sound, and framing with intention.
When technical excellence becomes muscle memory, artistic freedom expands. Invest a weekend refining your setup, then bookmark this checklist.
Every future self-tape will spotlight what truly books roles: the honesty in your performance and the confidence that you’re ready for set on day one.